Well, for anyone who is still under that illusion I'd like to report that it's no big deal. Yes, patience is required, and a steady hand, and a fair amount of time. But if you know what to do it's well within any modeller's grasp.
Any thereby hangs the biggest hurdle of all... knowing what to do. It's taken me a good couple of months of 'research' to get to the point where I felt I had enough knowledge to tackle the job, and there seems to be a real lack of straightforward, readily available information out there.
So for those who are struggling to know where to start, here is my rough guide:
- Buy Iain Rice's book 'An Approach To Building Fnescale Track In 4mm' (published by Wild Swan and available online from Kevin Robertson Books) if for no other reason than to get some information about prototype track. Whether or not you follow his methods for track building is up to you.
- Buy a turnout kit from C&L (available online either direct from C&L or from Mainly Trains)
- You'll need a bottle of Butanone (Daywat) liquid polystyrene cement (also available from the above sources online and any decent model shop) - normal polystyrene cement will not work on ABS moulded plastic. This is applied with a small brush (a Humbrol '0' is ideal). The sleepers can be glued down using PVA although I decided to use Evo-stick impact adhesive as there's less chance of sleepers coming loose during construction.
- Also you will need a sharp scalpel, a small file (I discovered that the pre-milled switch blades in the kit equired a little extra work), a pair of tweezers for picking up, positioning and adjusting chairs and fishplates etc., some side-cutters for cutting rail to the correct length (I'm not sure you need an expensive set of Xuron track cutters although my cheap side-cutters may not last long!), and a small pair of pliers for creating the flares in the check rails.
Here's the finished result:

After completing the turnout (all bar soldering of tie bars and wiring), I ran some stock through it and realised that the wing rail on the straight side of the crossing is slightly misaligned causing the wheels of my Bachmann Mk 1's to jump 'out' of the track. Repositioning the check rail so that there was a wider check rail clearance has solved this - not ideal but apart from taking the crossing apart and resoldering it all it's the only option really. (I'm not sure if this is an incentive to build my own crossings or whether the chances of me messing it up are greater than the chances of buying more dodgy ready-built crossings! I did also have to do some additional filing to one of the switch blades to get a good close fit against the stock rail although that's not a major job).
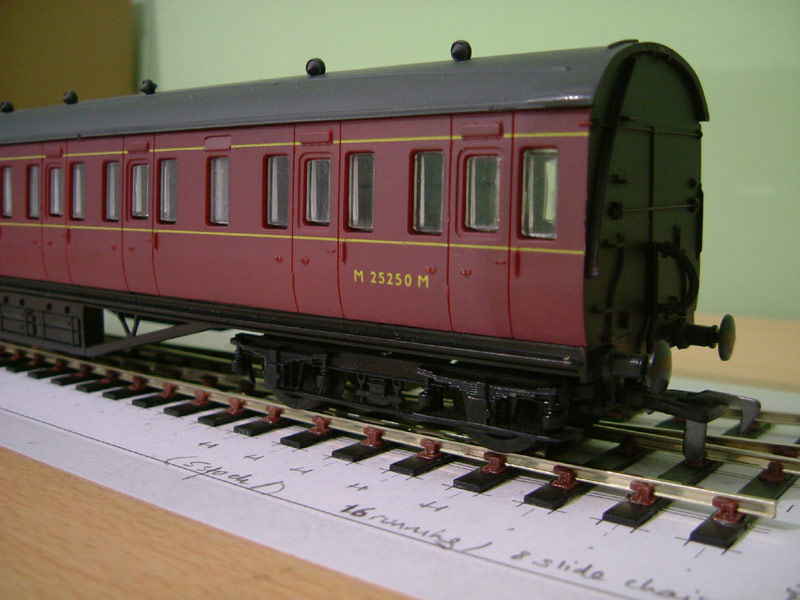
Well, there we are. Finally, here's a photo of one of my recently aquired Airfix ex-LMS suburban coaches sitting on the newly built track:
No comments:
Post a Comment